01 September 2008

Vanilla Peach Cupcakes

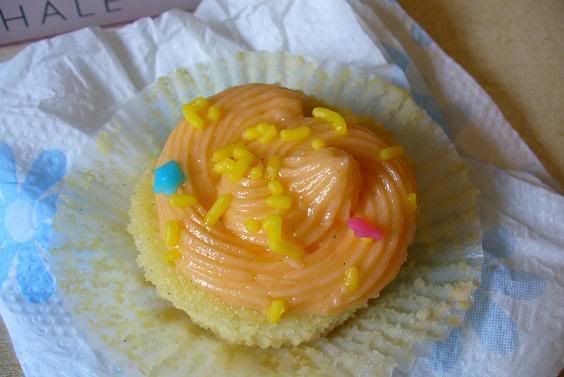
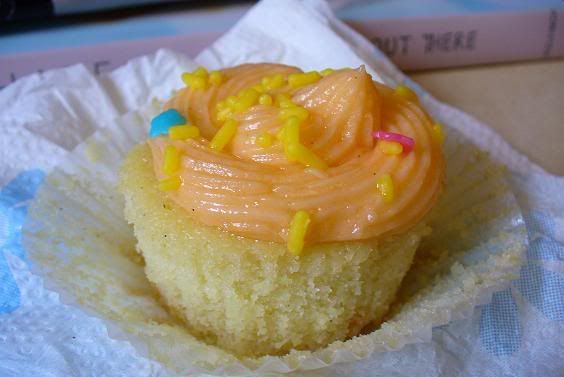
As I stated in an earlier entry, I love summer fruit. And while blackberries and cherries are great, peaches are my absolute favorite. During high school, some of my best summer days were spent with a good friend of mine on her family's fruit farm. We'd spend hours outside picking blueberries and raspberries, only to come inside and dive into a pile of ripe, sweet peaches. The Schmitkon's family farm grows, hands down, THE BEST peaches I have ever tasted in my life. The peaches are always incredibly sweet, juicy, and, at times, GIGANTIC! This summer, I had originally planned to make a pie with my box of peaches. Unfortunately, I wasn't able to pick up the peaches until the end of my summer and didn't have the time to make a pie. Instead I opted to make my go-to vanilla cupcakes with a little summer twist -- fresh peaches tossed into the batter!

Vanilla Peach Cupcakes

adapted from Billy's Vanilla Vanilla cupcake recipe

1 3/4 cups cake flour [NOT the self-rising type]
1 1/4 cups all-purpose flour
2 cups sugar
1 tablespoon baking powder
3/4 teaspoon salt
1 cup [2 sticks] unsalted butter, cut into 1-inch cubes
4 large eggs
1 cup whole milk [I used 2%]

1 teaspoon pure vanilla extract [or vanilla bean paste!]
2 medium peaches, skin removed, finely chopped

Preheat oven to 325 degrees Fahrenheit and line cupcake pans with paper liners; set aside. In the bowl of an electric mixer fitted with the paddle attachment, combine flours, sugar, baking powder, and salt; mix on low speed until combined. Add butter, mixing until just coated with flour.
In a large measuring cup, whisk together eggs, milk, and vanilla. With mixer on medium speed, add wet ingredients in 3 parts, scraping down sides of bowl before each addition. Beat until ingredients are incorporated but do not overbeat. Gently fold in peaches.
Divide batter evenly among liners, filling about two-thirds full. Bake, rotating pan halfway through, until a toothpick inserted in the center comes out clean (about 17 to 20 minutes). Transfer to a wire rack to cool completely.


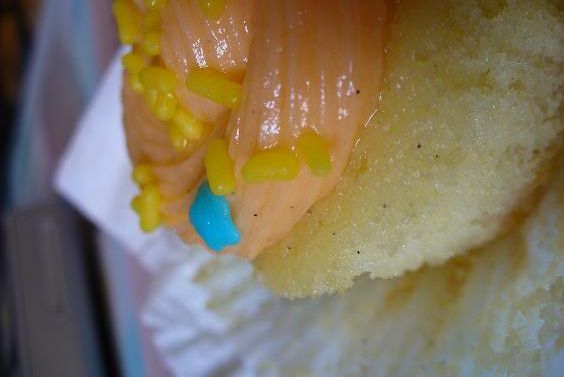
For the frosting, I turned to my favorite frosting which came from a red velvet recipe. I added orange Wilton gel dye to make the frosting a fun, summery color to compliment my summery cupcakes! Some flower-shaped sprinkles added a nice finishing touch.


I brought most of the cupcakes down to OWU with me and shared with my friends. These treats received rave reviews from everyone, especially those at the cookout I stopped by on my second night back.


24 August 2008

Three Cheese Macaroni and Cheese

If you know me, it is likely you know how much I love cheese. I love to have my pizza piled high with extra cheese and any sort of grilled sandwich with ooey-gooey cheese on it is a winner in my book. There are times I have to control myself at the grocery store and resist the temptation to buy a bag of cubed cheese. So, as you could guess from all of this, I loooove macaroni and cheese. Unfortunately, that usually doesn't fit in with the whole idea of "healthy eating", which is what I've made an effort to do this summer.
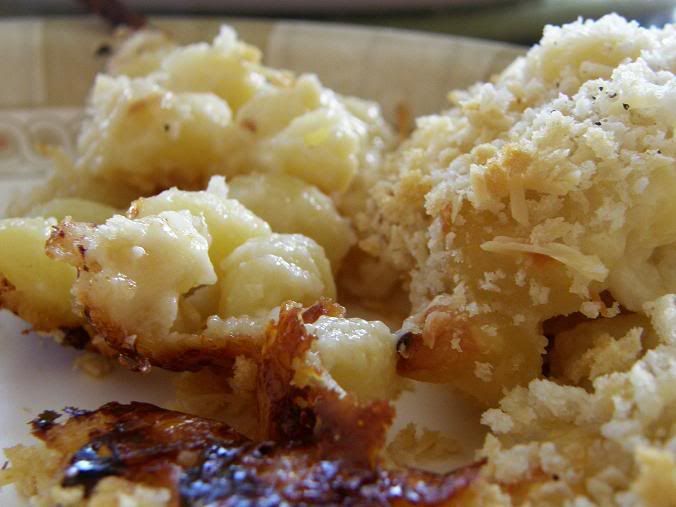
As I was browsing our latest issue of Cooking Light, my eyes fell upon a recipe for three cheese mac and cheese. Oh my gosh. Words cannot effectively explain my excitement. Not only would this be a healthier version of one of my favorite foods, but I had been itching to make some mac and cheese [not from a box] all summer. My sister was the test subject for the recipe and she loved it! Jenna can be a little picky about her food, so I wasn't sure how she'd feel about a macaroni and cheese with onion and "fancy" cheese. Considering that she ate about a third of it in one sitting, I think it's safe to say it was a hit with her. My dad finished off the leftovers the following night and approved of the recipe as well.

Three Cheese Macaroni and Cheese
from Cooking Light magazine


1 teaspoon olive oil
1 cup finely chopped onion [about 1 medium onion]
2 tablespoons flour
1 garlic clove, minced
1 1/2 cups low-fat 1% milk
1 bay leaf
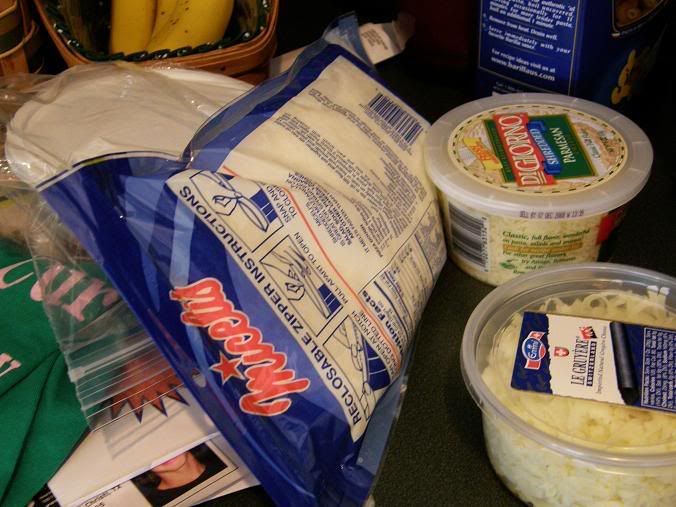
1/2 cup [2 ounces] Gruyere cheese [the original recipe calls for
Gorgonzola but I wasn't feeling that]
3/4 cup [3 ounces] grated Parmigiano-Reggiano cheese, divided
1/4 teaspoon salt
2 cups uncooked elbow macaroni [I used a different tube pasta]

cooking spray
2/3 cup [about 2.5 ounces] shredded part-skim mozzarella cheese
2/3 cup panko [Japanese breadcrumbs]
freshly ground black pepper

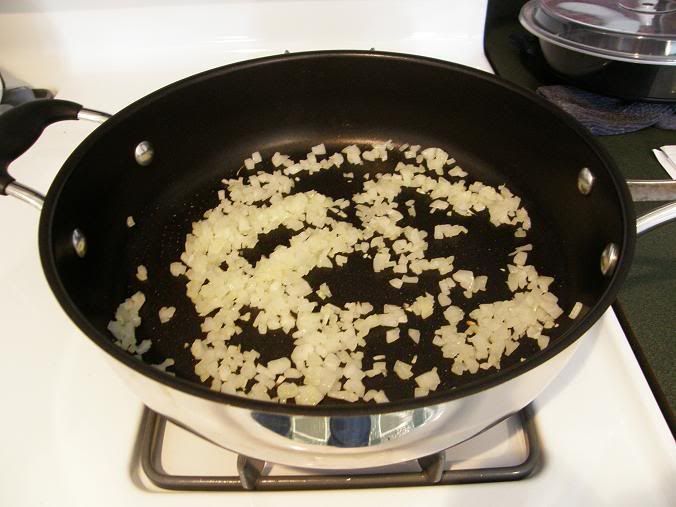
Heat oil in a medium saucepan over medium heat. Add onion to pan; cook 8 minutes or until tender, stirring occasionally. Add flour and garlic; cook 1 minute, stirring constantly. Stir in milk and bay leaf; bring to a boil. Cook 2 minutes or until thick, stirring constantly with a whisk. Add Gruyere, 1/2 cup Parmigiano-Reggiano, and salt; stir until cheeses melt. Discard bay leaf.
Preheat oven to 375°.

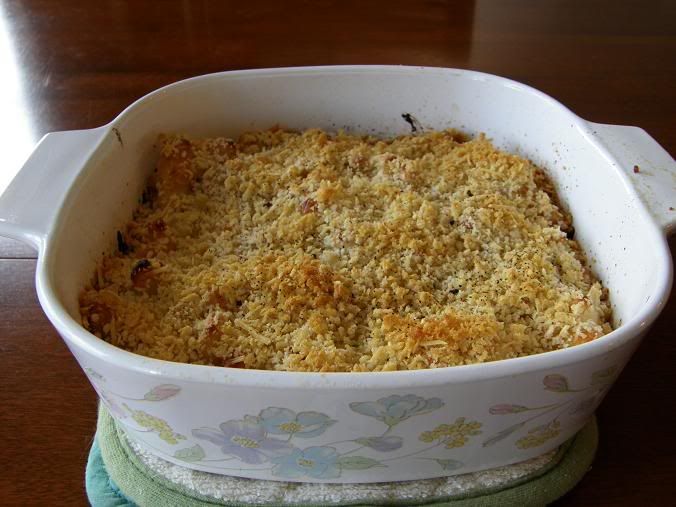
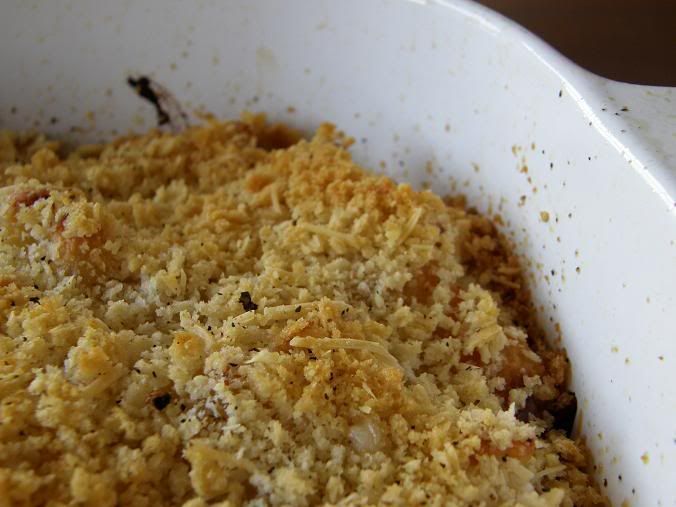
Cook pasta in boiling water 5 minutes or until almost tender; drain well. Add pasta to cheese mixture, stirring well. Place about 1/2 of pasta mixture into an 8-inch baking dish coated with cooking spray. Sprinkle evenly with mozzarella. Top evenly with remaining pasta mixture. Combine remaining 1/4 cup Parmigiano-Reggiano and panko; sprinkle evenly over pasta mixture. Spray lightly with cooking spray; sprinkle with black pepper. Bake at 375° for 35 minutes or until heated.


20 August 2008

Blackberry Pound Cake

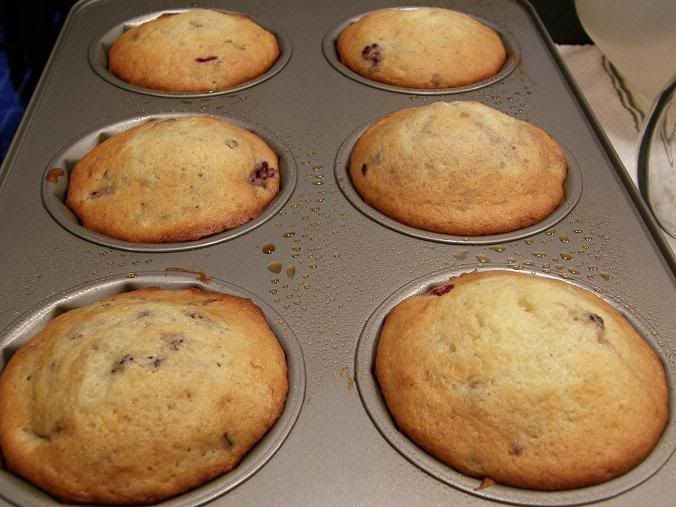
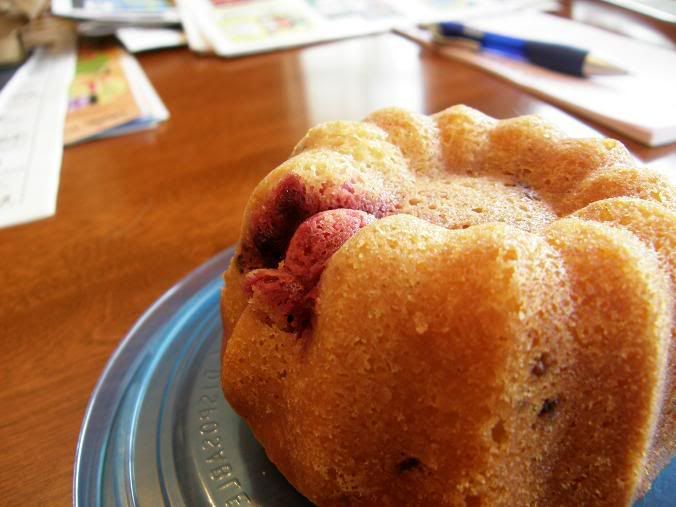
As I mentioned in an earlier entry, I was fortunate enough to receive some delicious, fresh blackberries from a coworker at Decidedly Different. While I had some ideas, I decided to browse our newest cookbook -- The Best of Cooking Light. I found so many delicious berry recipes in the dessert section and I wasn't quite sure which one to use. I was leaning toward trying a blackberry angel food cake, but that called for 12 egg whites and I didn't quite feel like using all of our eggs. The recipe I finally decided on is originally for a blueberry pound cake and I simply subbed in blackberries for the blueberries. I could not be happier with the outcome. This recipe yields a moist and flavorful cake that's perfect for the summer.

Blackberry Pound Cake
taken from The Best of Cooking Light


2 cups granulated sugar
1/2 cup light butter, softened [I used regular unsalted butter]
1/2 cup [4 ounces] 1/3-less-fat cream cheese, softened
3 large eggs

1 large egg white
3 cups all-purpose flour, divided
2 cups fresh or frozen blackberries

1 teaspoon baking powder
1/2 teaspoon baking soda
1/2 teaspoon salt
1 [8-ounce] carton lemon low-fat yogurt
2 teaspoons vanilla extract
cooking spray
1/2 cup powdered sugar

4 teaspoons lemon juice

Preheat your oven to 350 degrees Fahrenheit.
Beat sugar, butter, and cream cheese at medium speed until well blended [about 5 minutes]. Add eggs and egg white, one at a time, beating well after each addition.
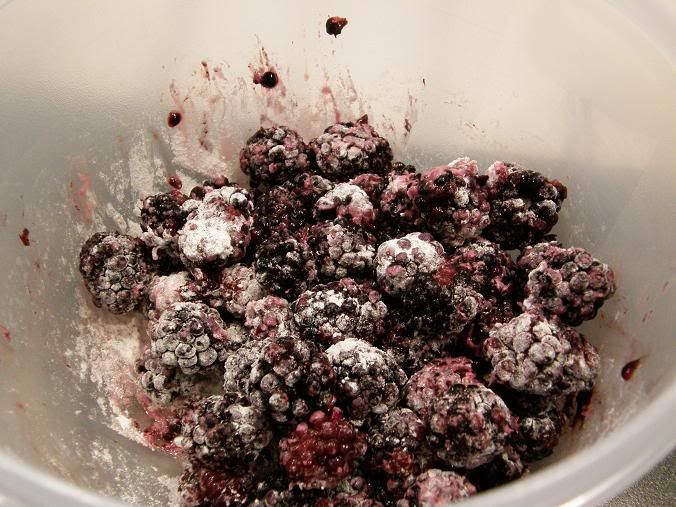
Measure out your flour, and then take 2 tablespoons of flour from the 3 cups and combine with blackberries in a small bowl, tossing well.


Combine remaining flour, baking powder, baking soda, and salt. Add the flour mixture to the sugar mixture alternately with yogurt, beginning and ending with flour mixture.
Fold in blackberries and vanilla; pour cake bater into 10-inch tube pan coated with cooking spray. Bake for 1 hour and 10 minutes or until a wooden pick inserted into the cente
r comes out clean.

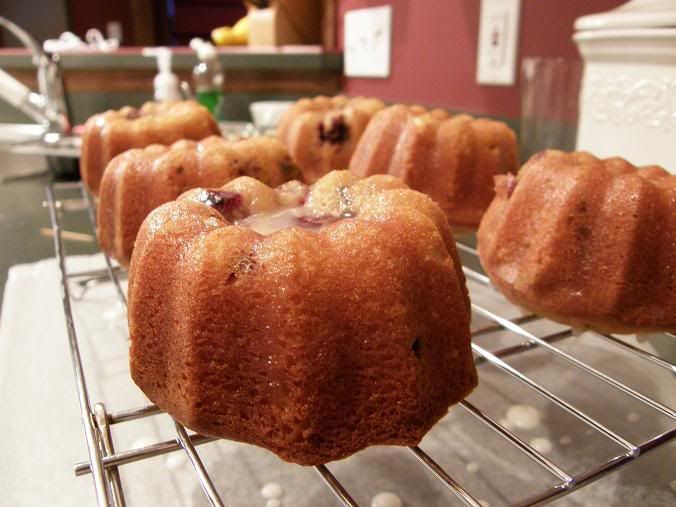
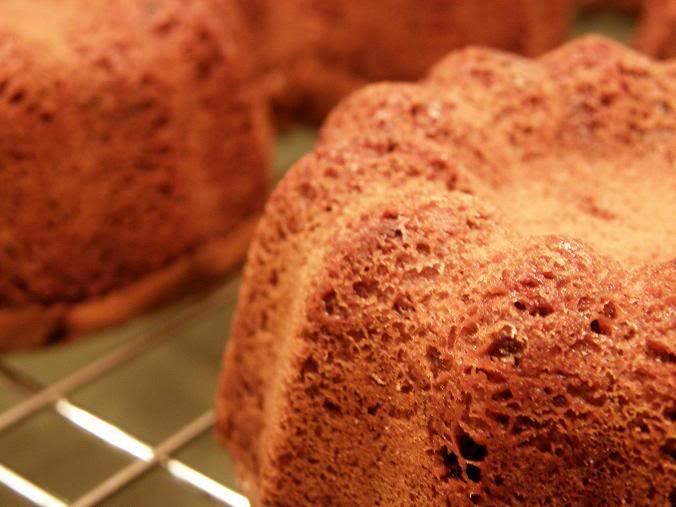
The last part is the part I strayed from. We, somehow, do not own a tube pan or a bundt pan or anything or the sort. Well, shoot. So what did I do? I busted out my new mini fluted cake pans and muffin pans and made some mini cakes! I believe these baked for 35-40 minutes but I could be very, very wrong. Do not take my word for it. Keep an eye on your cakes if you decide to use a different pan to make sure they don't overcook.


Cool your cake in the pan for 10 to 15 minutes and then remove. Combine powdered sugar and lemon juice, and drizzle over the warm cake.


13 August 2008

Cherry Berry Oatmeal Bars

I keep trying to find a way to start this entry and I'm failing miserably, so we'll start this way -- I love me some berries and cherries. Summer fruit is my favorite. Cherries, strawberries, blackberries...I want 'em all. Imagine my delight to find a recipe in Cooking Light this summer for Cherry Berry Jam. All the recipe calls for is cherries, berries, lemon juice, and sugar. I decided to give it a whirl and it turned out pretty well. I should have let the jam simmer for a little while longer, but I'm ridiculously impatient and that resulted in a pretty thin jam that I now refer to as a spread. After using the deliciousness for the topping on our breakfast toast for two weeks straight we still had a ton of the jam left over. I turned to BakeBakeBake for some help and found this recipe.


Cherry Berry Oatmeal Bars


1 cup whole wheat flour [all-purpose would work, also, but I had to use up my wheat flour]
1 cup rolled oats

1/4 cup brown sugar
pinch of salt
1/4 teaspoon baking soda
4-5 tablespoons of butter


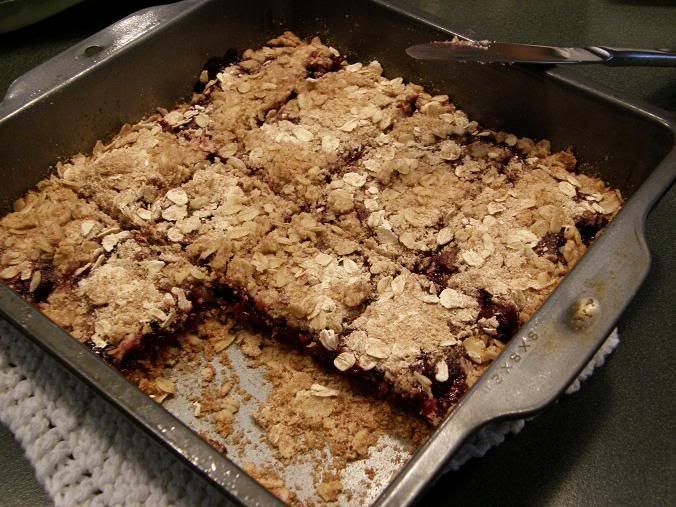
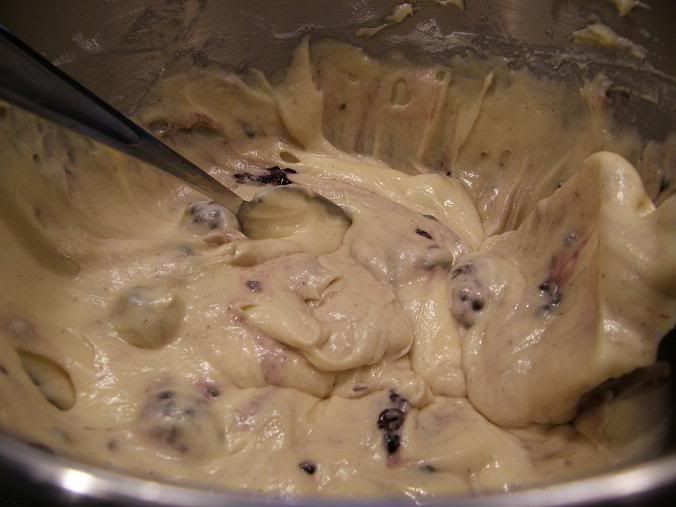
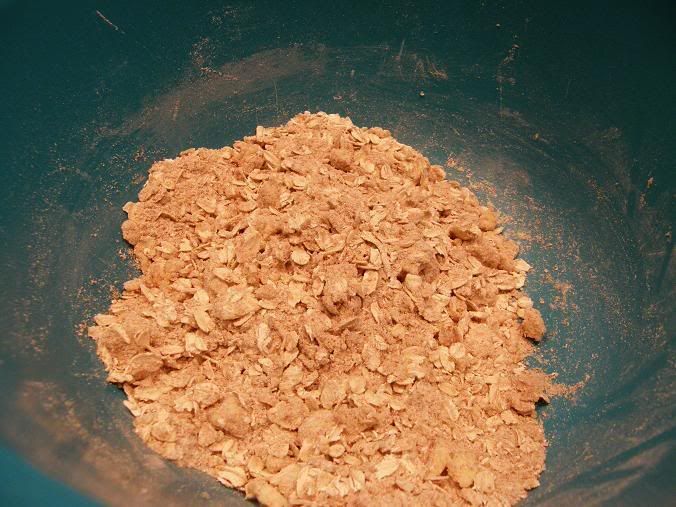
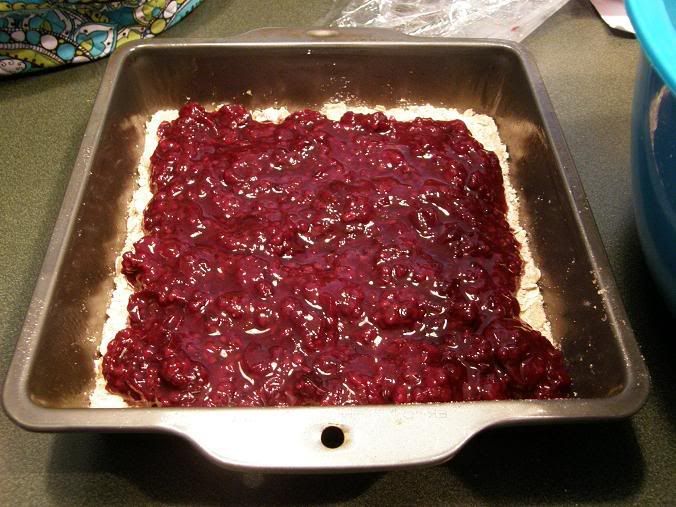
Preheat your oven to 350 degrees Fahrenheit and grease a 9x9 inch baking pan. Combine flour, oats, sugar, salt, and baking soda. Cut in the cold butter until a crumbly mixture is formed. Press 2/3 of the mixture into the bottom of the pan. Spread as much jam as you would like over the bottom layer, but be sure to leave a 1/4 inch edge so the jam doesn't bubble over the topping. Sprinkle the remaining mixture over the jam and press lightly into jam. Bake for 35 to 40 minutes or until lightly browned. Cool on a wire rack.


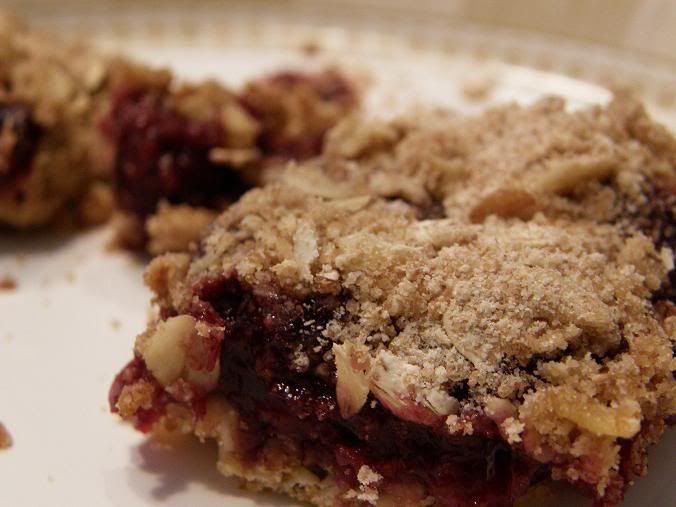
These were good. Not phenomenal, but definitely not bad. They were very tasty warm but I actually preferred them a day or more later. The bars took on a chewier texture and held together much better than on the first day. I would be more enthusiastic about these bars but I much prefer cakes and brownies than something like this. But if you have some extra jam or jelly or whatever to use up I would recommend these oatmeal bars. They make a nice, light alternative to heavier and more decadent desserts...and they're healthier!


11 August 2008

Quite the dilema...

One of my amazing women I work with at a small, local coffee shop has a blackberry bush in her backyard. Apparently, she is up to her neck in blackberries and is trying to get rid of some. She brought a bowl of the berries into work today and told me that she knew I would love to bake with the berries and I could return the bowl when finished. It's as if she read my mind! Before she finished her sentence, I had already begun thinking of all sorts of goodies to bake. Once I got home, I thumbed through our new Cooking Light cookbook to find a potential muffin or cake recipe. A couple caught my eye, so now I have to make the big decision: which will I bake tomorrow?

...Okay I made that sound more epic and trying than it really is. I'm basically deciding between a blackberry pound cake in cupcake or mini cake form or a blackberry lemon muffin. Considering I recently [well, a few weeks ago] made blueberry muffins, I may try the cake, but I wanted some opinions first. So, let me know what you think! Which should be my next baking adventure? Also, your own recipe suggestions are welcome! I'm always open to new ideas.

Coming soon: oatmeal bars with homemade fruit spread!

10 August 2008

I'm still here, for any of you who still read or lurk or what have you. I've been very busy the past few weeks with work and vacation. I'll hopefully be posting again soon.

26 July 2008

Bryce's Favorite Brownies

My boyfriend loves to eat. And when Bryce really loves something, he can eat ungodly amounts of it. I have seen this boy put away an entire pizza by himself, no problem. One of his favorite places to go out for dinner is Quaker Steak and Lube but only on a Tuesday night when he can gorge himself on all you can eat wings. Oh, and he's a 6 foot 5 [though he'll insist he's 6 foot 4 because, well, that's how tall Superman is] gangly boy and weighs about as much as I do. I don't think I need to say this, but I will anyway -- I'm jealous.
He's going to kill me for posting that, haha. I'd have to starve myself to be anywhere near that thin. Damn metabolism... Anyway, as I was saying, Bryce tends to eat disgustingly huge quantities of food when he really loves something. These brownies are one of those dear loves of his. I promise you that this boy could finish off the entire tray of brownies in two or three days. Unfortunately for him, my dad would fight him for these brownies.

Bryce's Favorite Double Chocolate Brownies
found at recipezaar.com


2/3 cup butter
1 1/2 cups sugar
1/4 cup water
4 cups semi-sweet chocolate chips, divided [honestly, I use 2 cups plus whatever I feel like adding]
2 teaspoons vanilla
4 eggs
1 1/2 cups flour
1/2 teaspoon baking soda
1/2 teaspoon salt

Preheat your oven to 325 degrees Fahrenheit and grease a 13x9 inch baking pan.

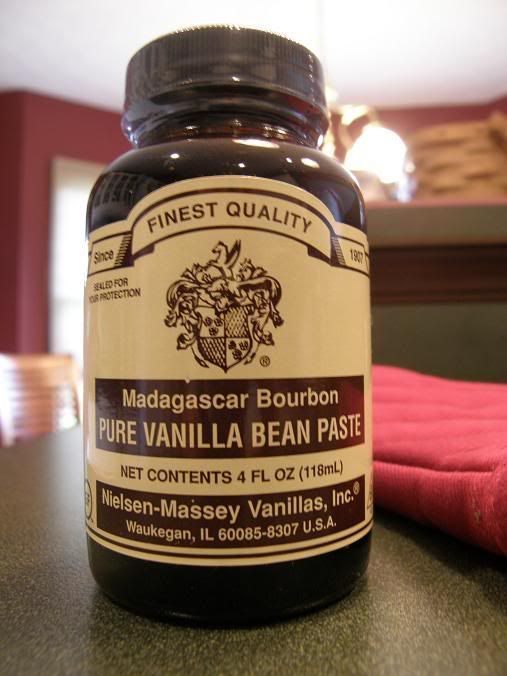
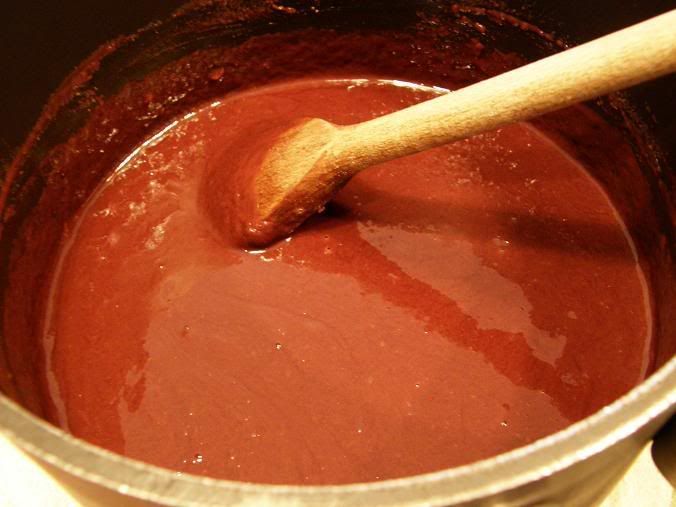
In a heavy saucepan, bring butter, sugar, and water to a boil, stirring constantly until butter is melted and sugar is completely dissolved [this should take about 3 or 4 minutes]. Remove from the heat and stir in 2 cups of the chocolate chips, with a wooden spoon, until melted completely. Cool slightly and then beat in the vanilla. I used my amazing vanilla bean paste, but vanilla extract works just as well.


In a mixing bowl, whisk the eggs. Once the chocolate mixture has cooled, gradually add the mixture to the eggs, beating with a wooden spoon until completely mixed.
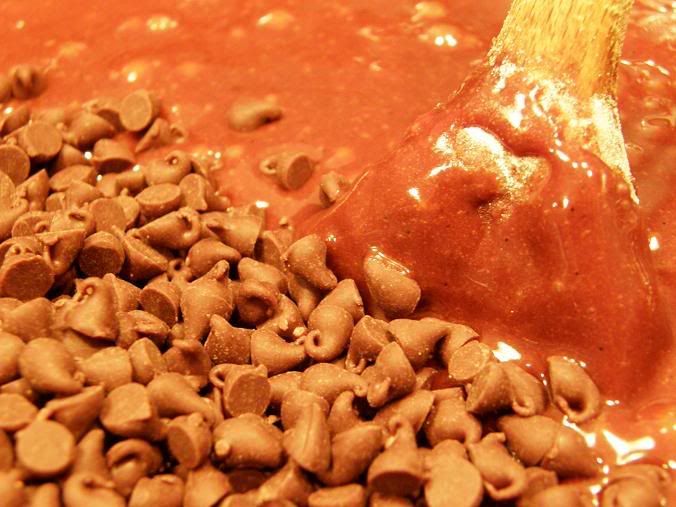
Mix together flour, baking soda, and salt. Add to the egg/chocolate mixture and mix well to combine. Stir in the remaining chocolate chips. I like to use the itty-bitty mini chocolate chips, but regular ones or chocolate chunks would work, as well.

Spread your batter into the prepared baking pan and bake for 35 to 40 minutes. DO NOT OVERBAKE! I usually go by eye on this, but you could do the little toothpick test for good measure. Let the brownies cool on a rack [in the pan, of course] and then cut into squares and promptly devour.

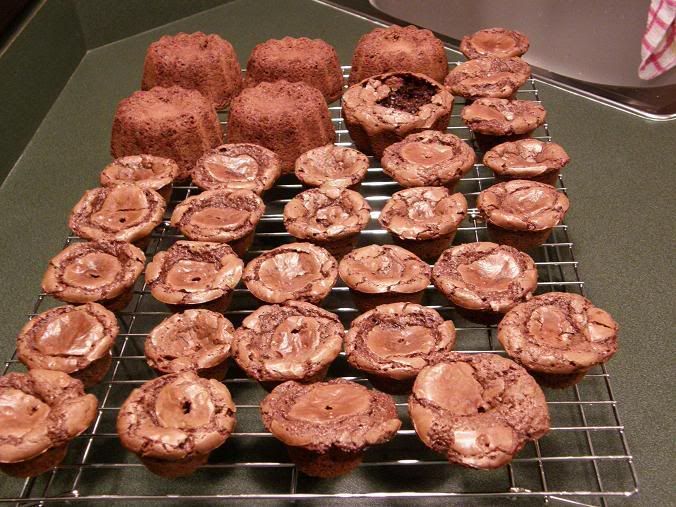
Now this time around, I used some of my new bakeware that I purchased at some kitchen outlets in Pennsylvania. I also used my mini cupcake tins and make, well, mini cupcake brownie things.


While it was fun to use my new pans and the cupcake-shaped-brownies were cute, everyone preferred the brownies baked in the 9x13 pan. When baked in the pan, the brownies are so much more dense and chewy which is how I prefer my brownies. Bryce agreed and also prefers the bar brownies because he can help himself to larger pieces of the dessert. Typical. Well I'm sure he'll be glad to know that I plan on making another batch of these decadent brownies before I head down to meet up with his family before we all leave for vacation.


22 July 2008

Hot Chocolate S'mores Cookies

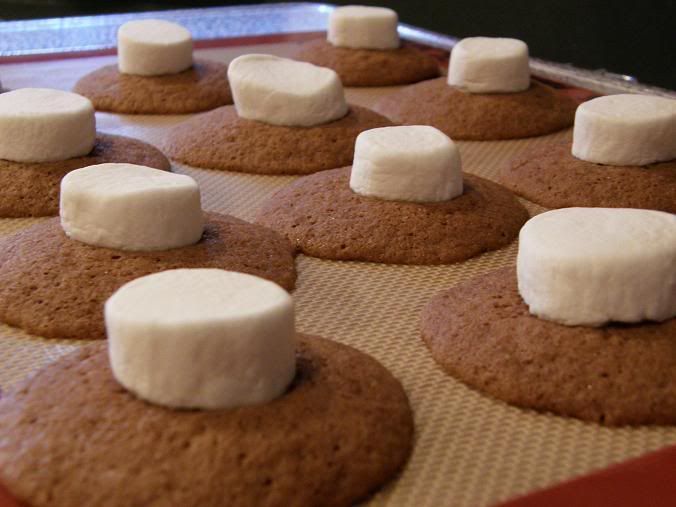
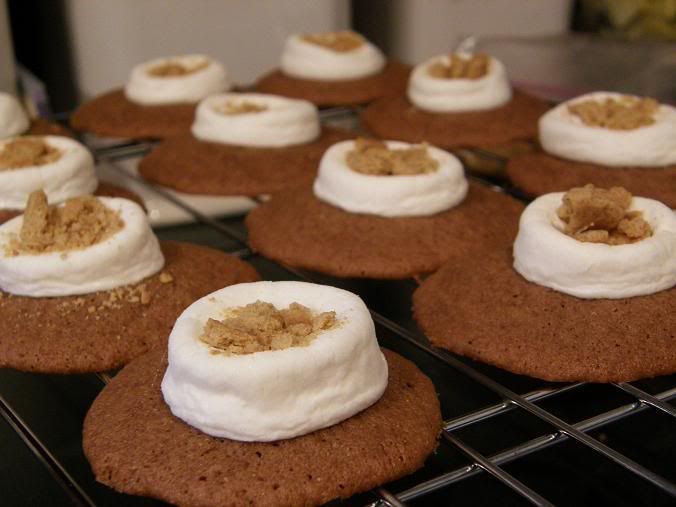
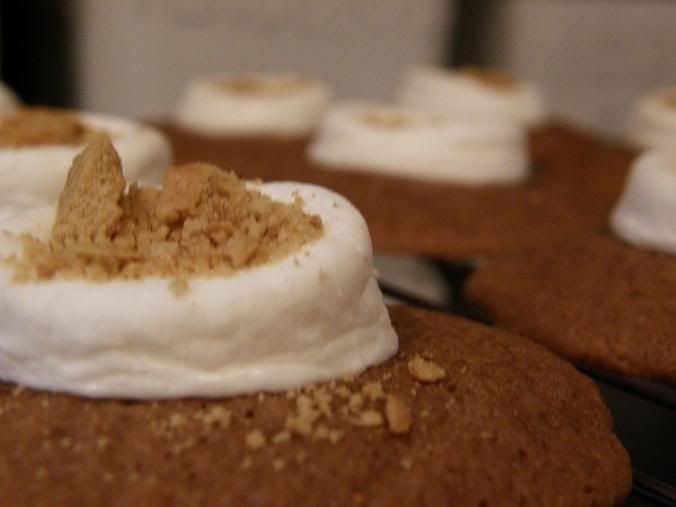
I have so much blogging to do, it is absolutely ridiculous. Well...I guess it only seems that way. Anyway, about a little over a week ago I read about a cookie contest that was being held by our local library. I got ridiculously excited and knew I had to enter something in the contest. There was one small problem...entries were due the following day by 4:00. I, of course, wouldn't let that get in my way and hurried over to my laptop to find a quick, tasty, yet creative recipe. After searching through pages of bookmarked recipes I finally decided on a cookie I had made this past winter: the hot chocolate cookie. This cookie uses hot cocoa mix in place of cocoa powder, which gives them a distinct taste. I also wanted to find a way to make them less like a Christmas cookie and more like something that could be seem as "summery". Hmmm...chocolate...marshmallow...I know! Add some graham crackers! I crushed up some grahams and added the crumbs on top of the marshmallow and turned these into Hot Chocolate S'mores cookies.

Hot Chocolate S'mores Cookies
adapted from Land O Lakes, found at novice-baker.blogspot.com

1 3/4 cups all-purpose flour
1 cup instant hot chocolate mix [any flavor works, but dark chocolate has been my favorite]
1 teaspoon baking soda
1/2 teaspoon salt
12 tablespoons unsalted butter, softened
1/2 cup granulated sugar
2 large eggs
1/4 cup milk

1 teaspoon vanilla
about 24 marshmallows, cut in half crosswise
about 3 full graham cracker rectangles [I hope that makes sense]

Preheat oven to 350 degrees Fahrenheit.
In a medium bowl, whisk together flour, cocoa mix, baking soda, and salt.
In a large mixing bowl, beat together the butter and sugar until creamy. Add the eggs one at a time and mix until well combined after each. Mix in milk and vanilla. Add the dry ingredients and mix just until combined.

Using a teaspoon or a teaspoon cookie scoop, drop the dough onto parchment lined baking sheets. Bake until the cookies are set [when touched lightly, and indentation remains and the cookie does not spring back], about 7 or 8 minutes. Remove and carefully place a marshmallow, cut side down, in the center of each cookie. I ended up cutting both ends of the marshmallows and then cutting down the middle, which provided me with a sticky surface for my graham cracker crumbs. If using the cracker crumbs, sprinkle on top of the marshmallow halves after placing them on cookies. Place back in the oven and keep baking until marshmallow begins to look puffy [about 1 to 2 minutes]. Remove from oven and let cookies sit on the cookie sheet for 1 minute before removing to cooling racks.


The cookies turned out great. Not quite...s'moresy, but very tasty. They have a very soft, cakey texture and are even better when they're eaten warm. Mmmm, gooey marshmallow. So how did they do at the cookie contest? Everyone got ridiculously excited when I brought them in, some declaring that I should already get first place. Talk about an ego boost, haha. I came back the next morning to check things out. I was a little disappointed...I didn't place in the top three. BUUUUT, I did walk away with a ribbon for the best decorated cookie. I had a lot of fun doing this and it was a fun first baking contest. Plus, all the money raised in the subsequent bake sale went to a foundation to help end childhood hunger.


What's up next? My boyfriend's favorite double chocolate brownies!

12 July 2008

Pina Colada Muffins

I believe I first saw this recipe at BakeBakeBake. It sounded like such a delicious muffin and knew I would have to try it. Lo and behold, a couple days later our counter top was littered with some overripe bananas! Perfect! I made these muffins Monday evening and I found it incredibly funny that I woke up that morning to find a version of these muffins posted on Cathlin Cooks. I loooove her blog. She always has great recipes and pictures, and makes an effort to healthy-fy [I love making up my own words, don't I?] her baking.
I changed up this recipe to fit my own preferences, but the original can be found here.

Pina Colada Muffins

1/2 cup applesauce

1/2 cup packed brown sugar
1 1/2 teaspoons vanilla extract
3/4 teaspoons rum
3 ripe bananas, mashed
1/4 cup honey

2 large eggs
2 cups whole wheat flour
3/4 teaspoons baking soda

3/4 teaspoons baking powder
1/2 teaspoon cinnamon
1/4 teaspoon nutmeg

1/2 teaspoon salt
1/2 cup diced fresh pineapple
shredded coconut [mine was sweetened]

Preheat oven to 350 degrees Fahrenheit. Prepare muffin tins.
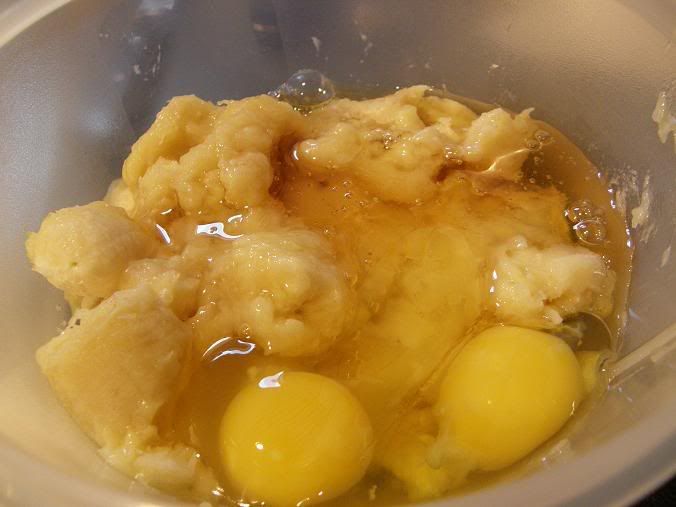
In a large bowl, beat together the applesauce, brown sugar, vanilla, and rum. In a separate bowl, combine mashed bananas, eggs, and honey. Add to the sugar mixture. Beat until thoroughly
combined.


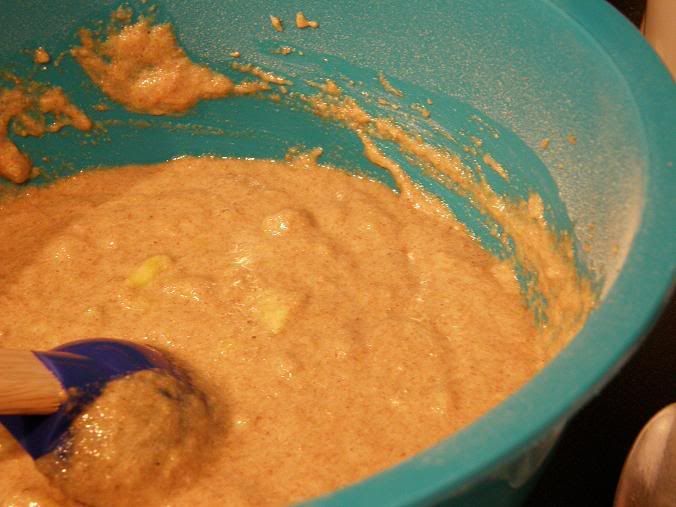
In a separate bowl, combine flour, baking soda, baking powder, cinnamon, nutmeg, and salt. Stir into banana mixture, then add the pineapple.

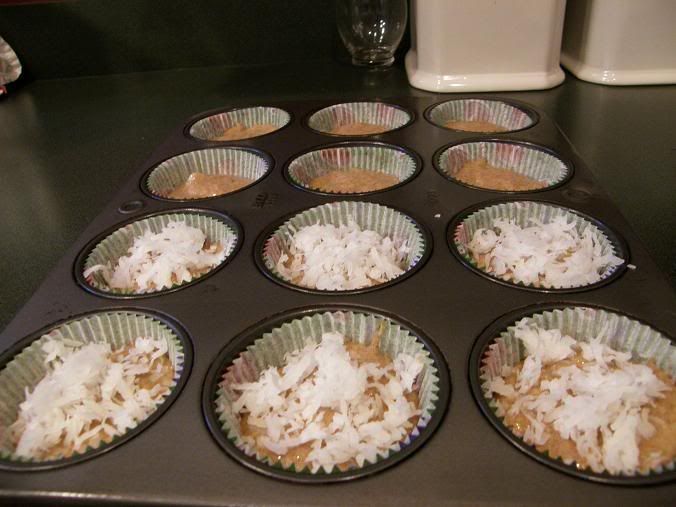
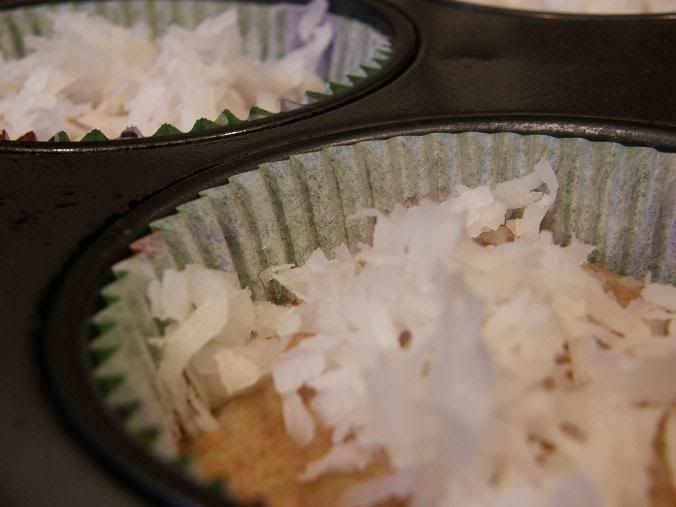
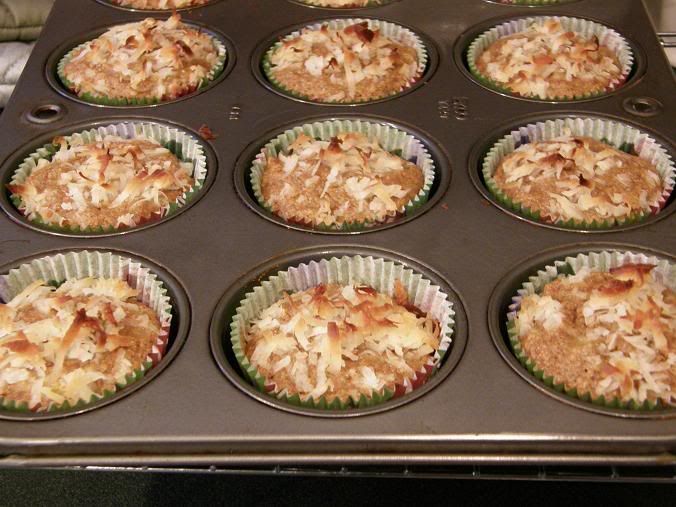
Spoon the batter into muffin cups and top each muffin with coconut [yum!].


Bake muffins for about 20 to 25 minutes, or until a toothpick inserted into the middle comes out clean. Remove from the oven, and cool in tins for a few minutes before removing to racks to cool completely.


These muffins are delicious! Absolutely delicious! They are so, so moist and flavorful. The whole wheat flour provides a different, heartier texture that I really do enjoy in this muffin. You can't even tell applesauce was used in place of the butter and I think it helps provide additional moisture to the muffin. If I could change anything about the recipe, I would perhaps add more pineapple and DEFINITELY add more coconut. I find it a little funny that I want to pile these up with coconut when maybe a year or so ago I would have screamed at the thought of coconut being in my food. Ahh, how things change.

01 July 2008

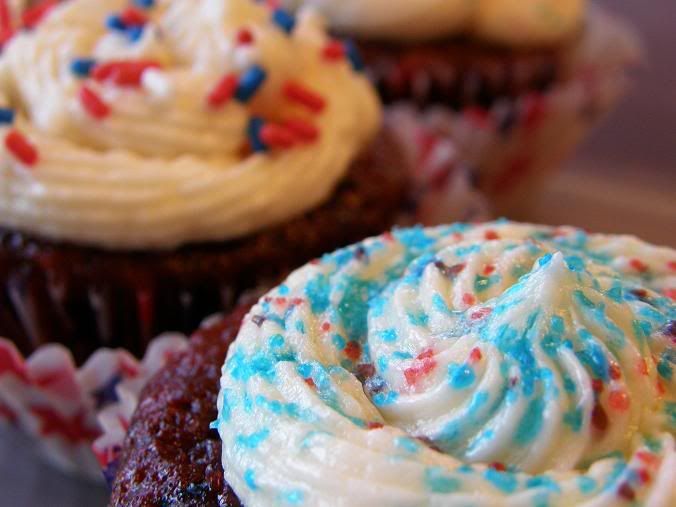
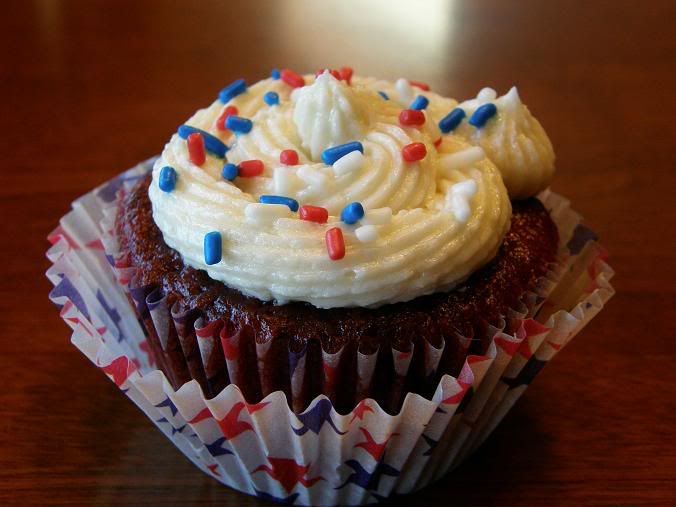
Fourth of July cupcakes

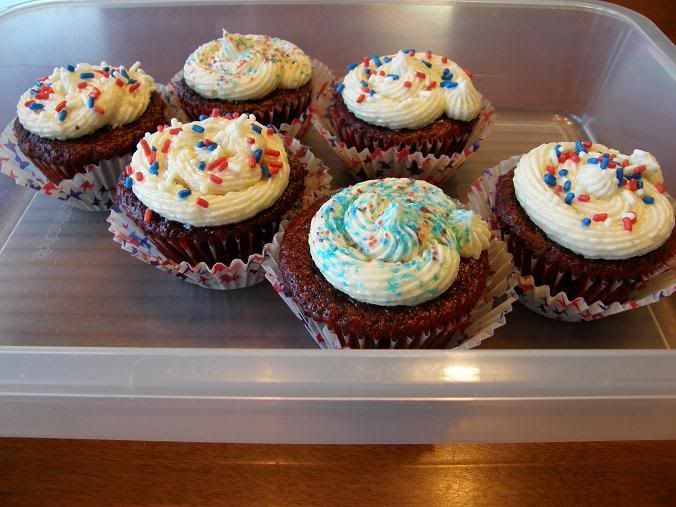
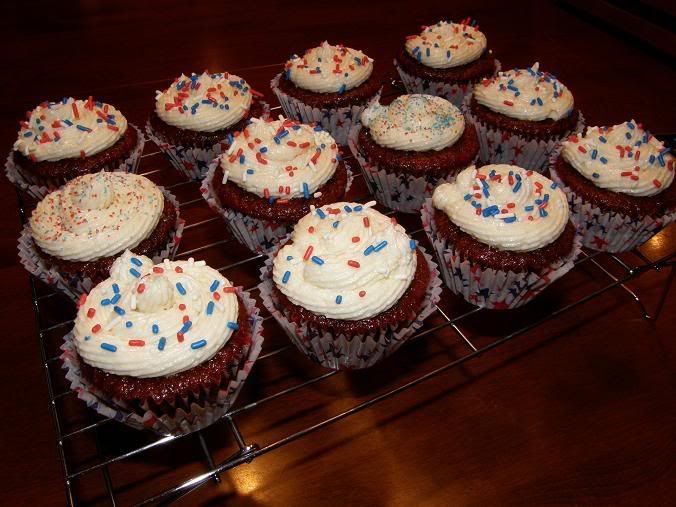
I have been dying to bake lately. Seriously, aching to bake. It's sad and makes me think that I have a problem, but I make myself feel better by telling myself that baking is a passion of mine and it's okay to feel those urges. Right? Right. And now I sound like I'm talking about a million other things that are definitely not baking. Anyway, these urges led to me begging my mom to let me bake something. We're all about to go away for a few days to celebrate the Fourth of July, so the parents really didn't want me baking a ton and then having to worry about eating it all, which is not good for our little weight loss plan, or taking them along with us. After much discussion [or a few minutes of me begging and pleading and being generally pathetic] it was agreed that I could bake a half batch of cupcakes. I was elated, which is very sad. Now, a month or so ago I found some cupcake liners with red, white and blue stars on them, along with sprinkles in said colors. This led to my obviously brilliant idea: make red velvet cupcakes for the Fourth! Now...if I could just find a good recipe to use...

Allrecipes.com is fabulous. I used it to find a great scone recipe for Mother's Day and it didn't fail me this time around, either. I picked this recipe, followed the alterations suggested in the first comment, and then made some of my own. I also cut the recipe in half because of previously said circumstances. Boo.


Red Velvet Cupcakes

based on a recipe from allrecipes.com

4 tablespoons unsweetened cocoa powder

2 ounces red food coloring
1 cup buttermilk
1 teaspoon salt
1 teaspoon vanilla

1/2 cup oil
1/2 cup applesauce
2 cups sugar

2 eggs
2 1/2 cups flour
1 1/2 teaspoons baking soda

1 teaspoon white vinegar

Okay, let's make these suckers. Preheat oven to 325 degrees Fahrenheit and prepare your cupcakes pans. Make a paste of cocoa powder and food coloring, and set aside. I ran into some problems here. I had hardly any liquid red food coloring and had to bust out my Wilton frosting gel. Well...I didn't make much of a paste. More so a clumped up mess of cocoa powder and gel stuff. I figured, oh w
ell, we'll see how this goes later, and moved on. Oh, I also tossed my vanilla in there in hopes of it helping with the "paste". No dice.

Combine buttermilk, salt, and vanilla [or just buttermilk and salt if you already put vanilla somewhere else...]. Set aside. In a large bowl, combine oil, applesauce and sugar and mix until well combined. Beat in eggs one at a time, then stir in cocoa mixture. Mine left some lumps behind but I was able to work some of them out. Then I got frustrated and gave up on that. Beat in buttermilk mixture alternately with flour, mixing just until incorporated. Stir together baking soda and vinegar, then gently fold into the cake batter. I guess you don't really need the vinegar since there is buttermilk in the mixture, but I did it anyway.

Pour into pans and bake for 25 minutes or so. Make sure they're done when a toothpick inserted into the center comes out clean bladdy bladdy blah. Allow to cool completely before frosting.

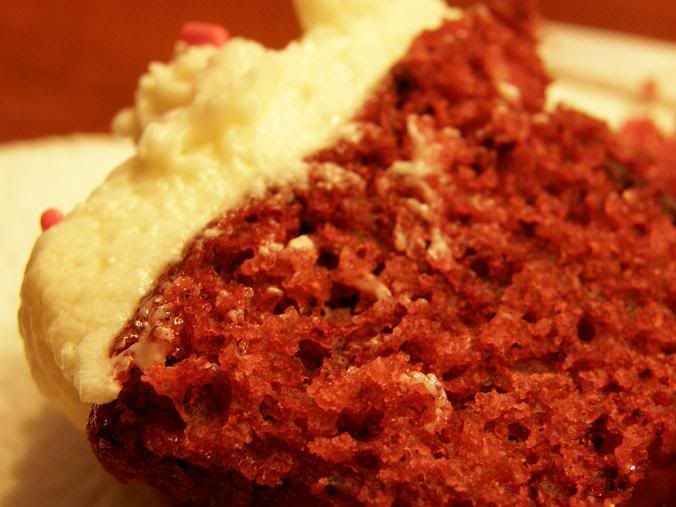
Well, they look okay. I can see a few little lumps in there, but nothing too scary. The texture is okay. I'd prefer something...cakey-er? But it's good! It's really good and I'm just being a complainer. The flavor is pretty mild and delicious. I couldn't pick up much of a cocoa flavor but I don't know if you're actually supposed to considering I've never had red velvet. Sad, I know. Anyway, the real star of this post is the frosting. I want to bathe in this frosting. I want to put this frosting on everything.

1 cup milk
5 tablespoons flour
1 cup sugar
1 cup butter
1 teaspoon vanilla

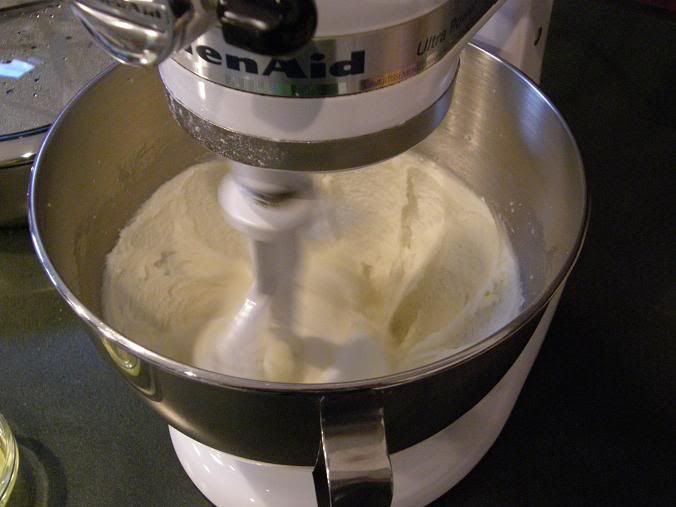
In a saucepan, combine the milk and flour. Cook over low heat, stirring constantly until mixture thickens. Now, I wasn't sure how thick this meant, but you'll know. It gets really, really thick. Set aside to cool completely. Cream together butter, sugar, and vanilla until light and fluffy, then stir in cooled milk mixture. Beat until icing reaches a nice spreading consistency.

Now, lately I've been thinking about how I need to find the perfect frosting and I had a very specific taste in mind. I must have had it a long time ago, because I can't place where or when I tasted it, but I knew what I was looking for. This frosting is it. It's perfect and I can't really think of how to describe it other than that. It's smooth, silky, and sweet, but not too sweet. I know I failed miserably at that, but you really have to try it for yourself. I'm in love with it.

So how did rest of the family feel? Well, let's see a sort of "before and after" showing how many cupcakes I had last night and how many I had this morning.

Before...


After...

Well I don't think we need to worry about them going bad! Dad at two last night and I'm assuming he took another this morning. Now, it takes a lot to get an enthusiastic reaction out of my dad when it comes to food. These did it. He wouldn't stop raving about how it's the best cake he's ever had and the best frosting because of the consistency and how it wasn't too sweet. My sister ate two last night and her eyes were about bulging out of her head while doing so. I almost gave up all self-control and ate two last night. So yeah, I recommend these to anyone and everyone. They will not disappoint, especially the frosting.