I saw this blogging event on Foodgawker and immediately knew that I had to participate. Cilantro and Lime is hosting this event in order to raise awareness of breast cancer. Breast cancer is, worldwide, the second most common type of cancer and ranks fifth in cancer deaths. One very interesting fact concerning breast cancer is that it affects both men and women [well, maybe this is common knowledge but I didn't really expect it to be].
The reason I was so adamant about participating in this event is my experiences with cancer. My mom has spent quite a few years working in the billing office of a cancer center and, because of that, I have been able to spend my past 4 summers and winters helping around the office. So, for a number of years, I've been exposed to cancer in that sense. More directly, cancer has affected both sides of my family. My Uncle Wayne [my mom's oldest brother] was diagnosed with throat cancer about...4 or 5 years ago. This came as a huge blow to the family. How could this happen to Uncle Wayne? He doesn't drink, he doesn't smoke...he doesn't deserve this. My uncle sought treatment at the cancer center mom and I work at and, thank God, has been clear of cancer for a good 3 years or so. He goes back every year for a follow-up and so far, so good.
Sadly, our other family encounter with cancer does not have such a happy ending. Later during that same year that my Uncle Wayne was diagnosed, my Aunt Connie [my dad's oldest sister] was diagnosed with breast cancer. Again, we were all shocked. Two family members in the same year? Unbelievable. Aunt Connie was initially treated at the same cancer center and then went to receive treatments elsewhere. I never heard much else about how she was doing, mainly due to poor family relationships with that side of the family, and I guess I just assumed she was recovering. It wasn't until this past summer that things really went downhill, and fast. We got news that Aunt Connie was struggling and the treatments weren't working. To make a very long story somewhat shorter, she was eventually placed in hospice care. My dad spent every day over there and for at least a month I hardly saw my father. I was so amazed by his dedication and his willingness to do whatever Aunt Connie wanted. The cancer had spread to at least her bones and her lungs, and she soon could hardly speak. My Uncle Chad flew in from Florida and spent at least a month here, and all her brothers and sisters and her 5 children did all they could to make her comfortable. On August 9th, I returned home from a trip to Myrtle Beach and Bryce accompanied me [a friend of mine was getting married that day]. Around 2 in the morning on August 10th, I heard the phone ring and shortly after, my dad was up and in the kitchen. He knew this was going to be his last time with her and he spent that night at the hospice center. She passed away around 4:00 AM and her pain was finally gone.
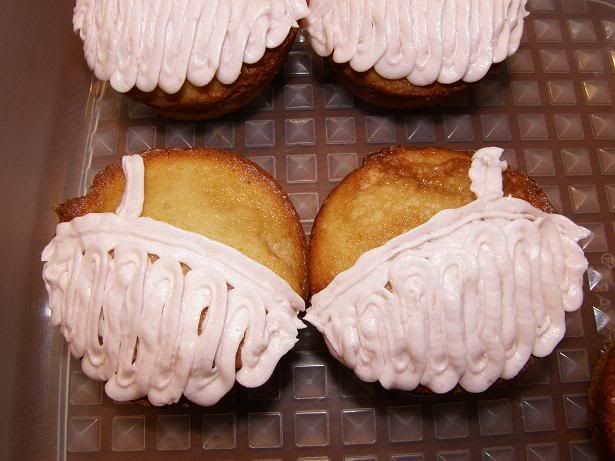
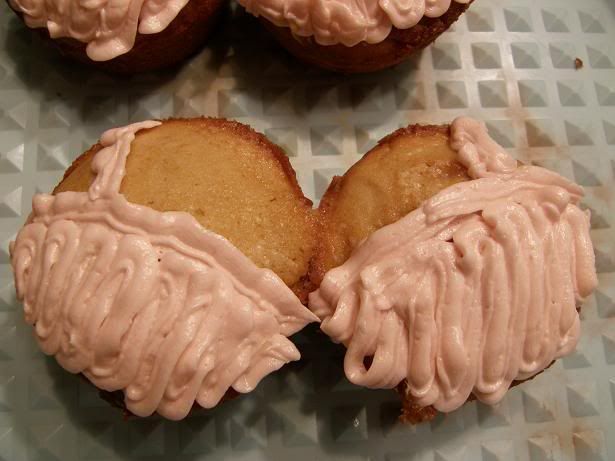
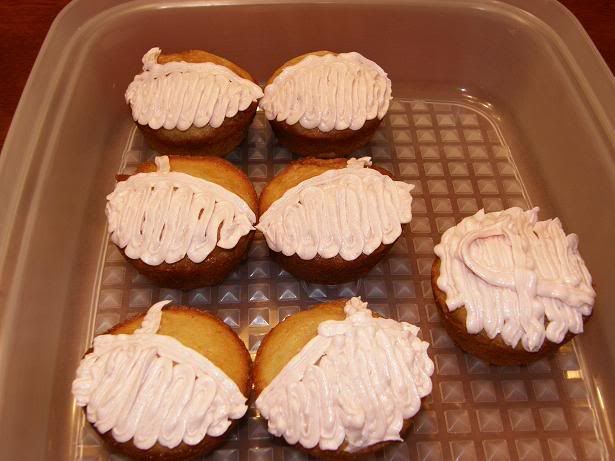
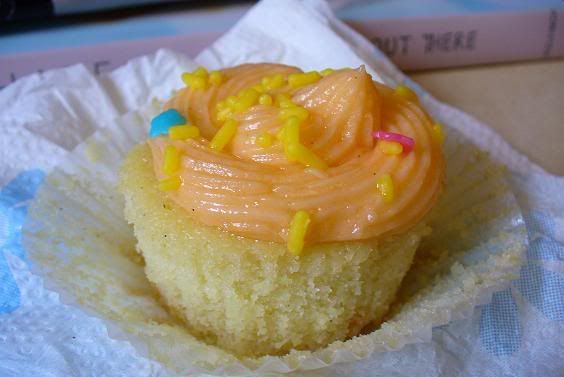
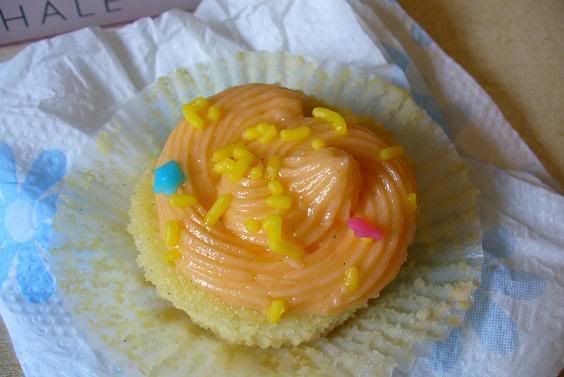
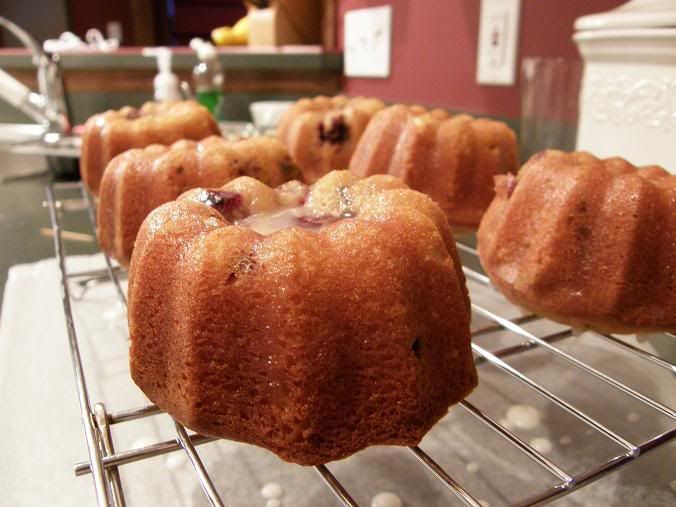
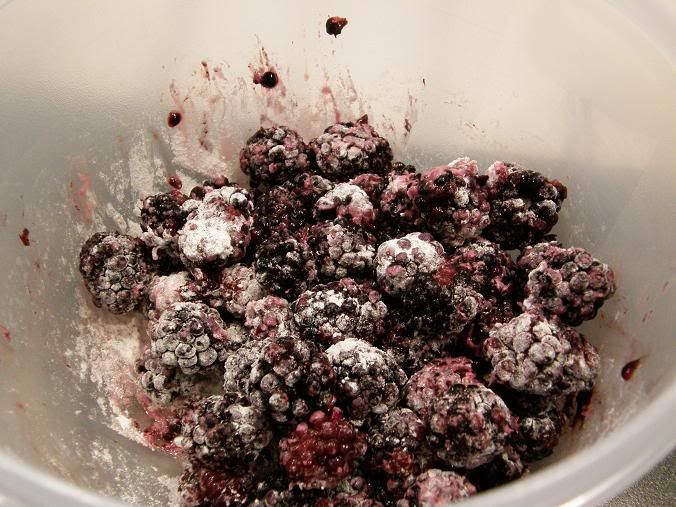
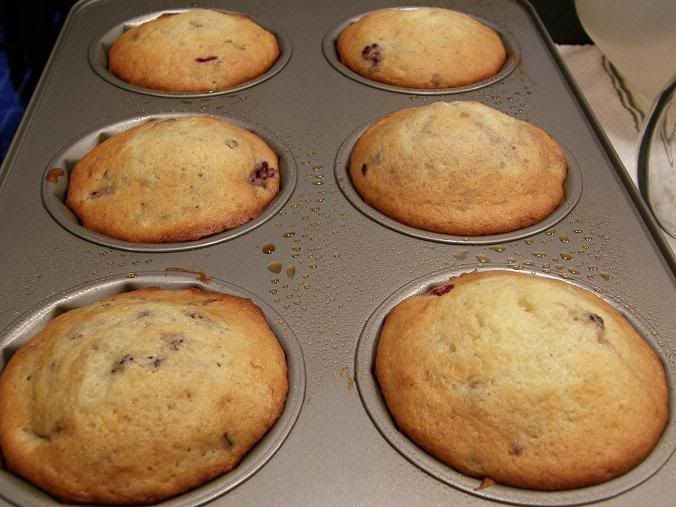
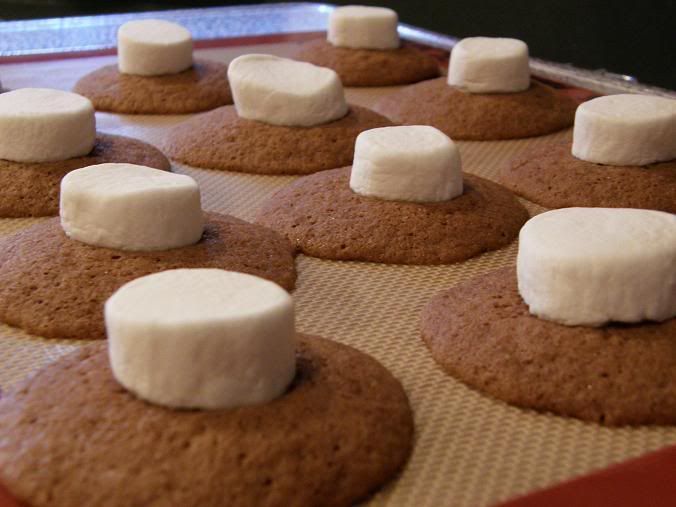
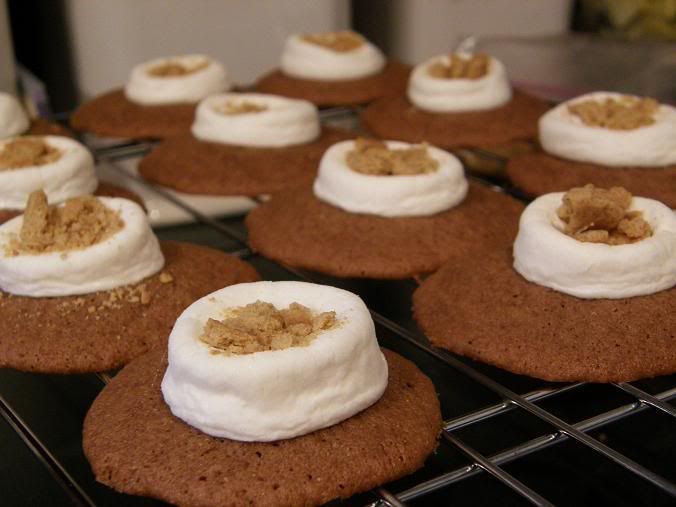
I apologize if that was too long or too personal, but that's my story and that's why I'm doing this. I wanted to bake something fun, something different. After some brainstorming with Bryce and Amy, I came up with cupcakes with pink frosting bras. I picked a recipe from our family Best of Cooking Light cookbook and frosted them with my favorite frosting recipe, tinted pink with my Wilton gels.
I'm slightly pressed for time, so I'll post a link to the recipe. The only changes I made were I omitted the breadcrumbs and I baked the recipe as cupcakes, so I checked on them after about 10 minutes and used my judgment past that point.
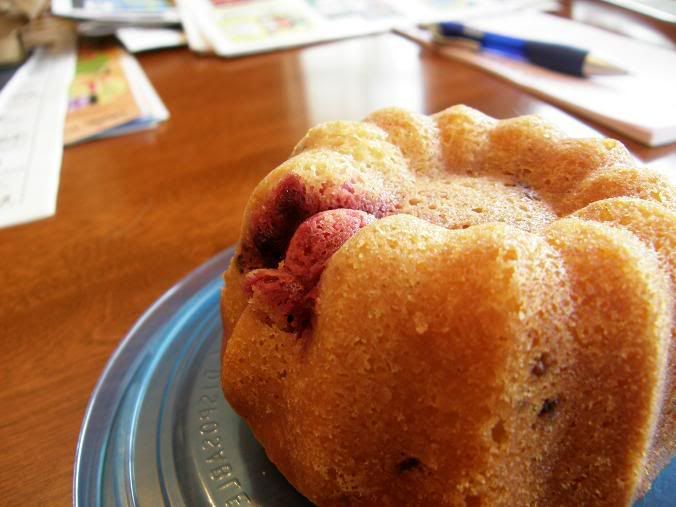
Brown Sugar Pound Cake
Frosting
1 cup milk 5 tablespoons flour 1 cup sugar
1 cup butter
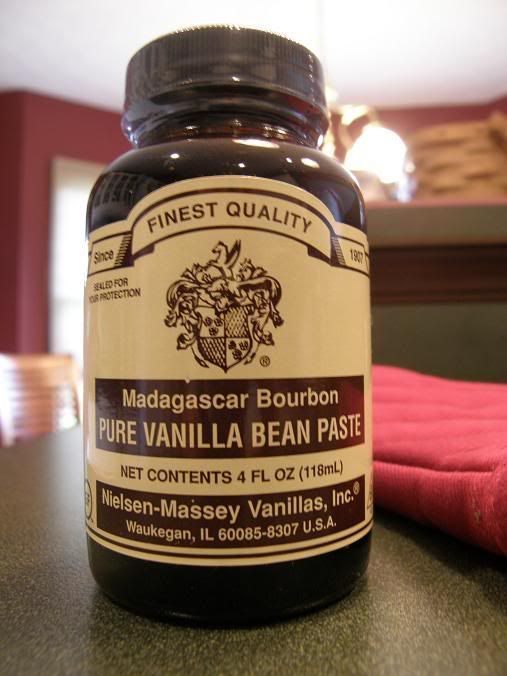
1 teaspoon vanilla
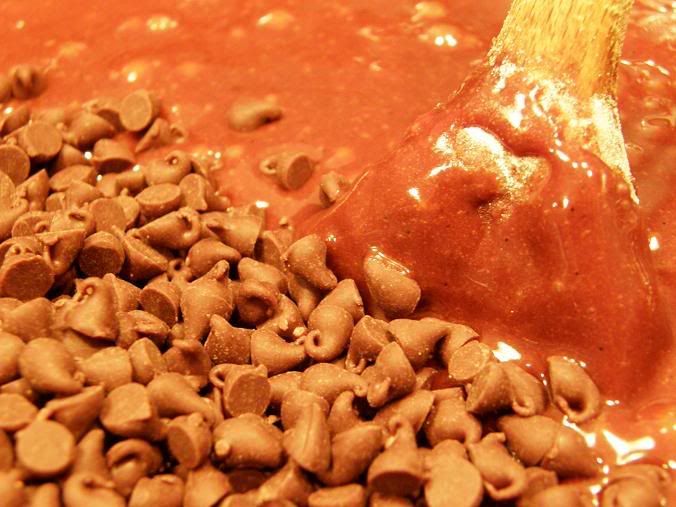
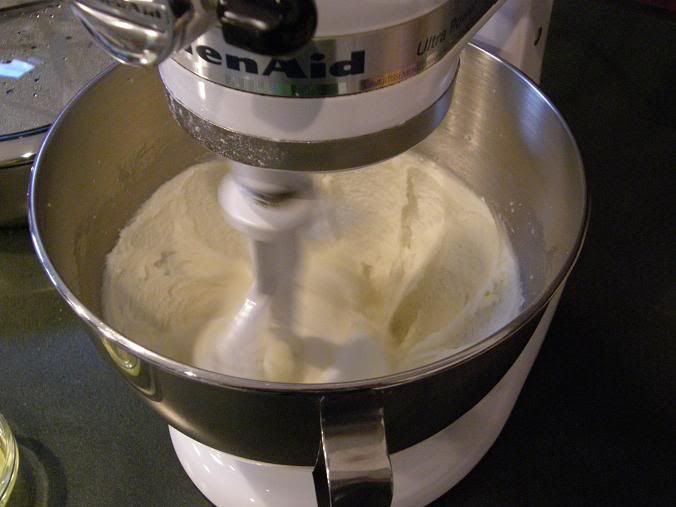
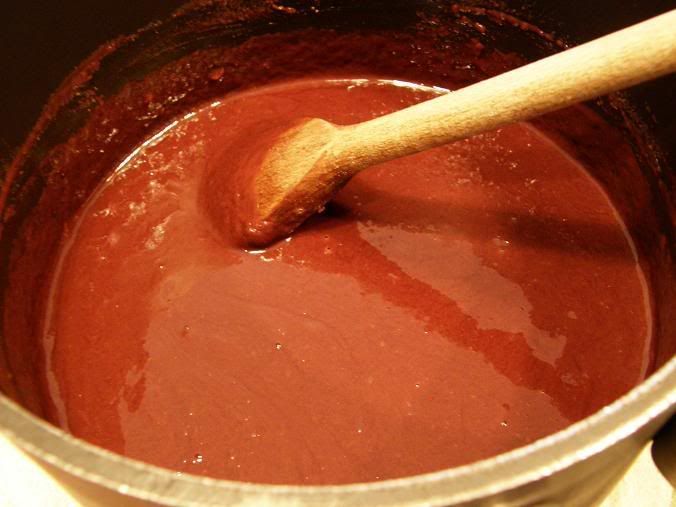
In a saucepan, combine the milk and flour. Cook over low heat, stirring constantly until mixture thickens. Now, I wasn't sure how thick this meant, but you'll know. It gets really, really thick. Set aside to cool completely. Cream together butter, sugar, and vanilla until light and fluffy, then stir in cooled milk mixture. Beat until icing reaches a nice spreading consistency.
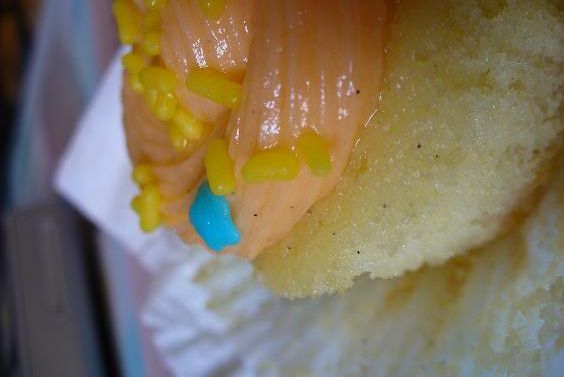
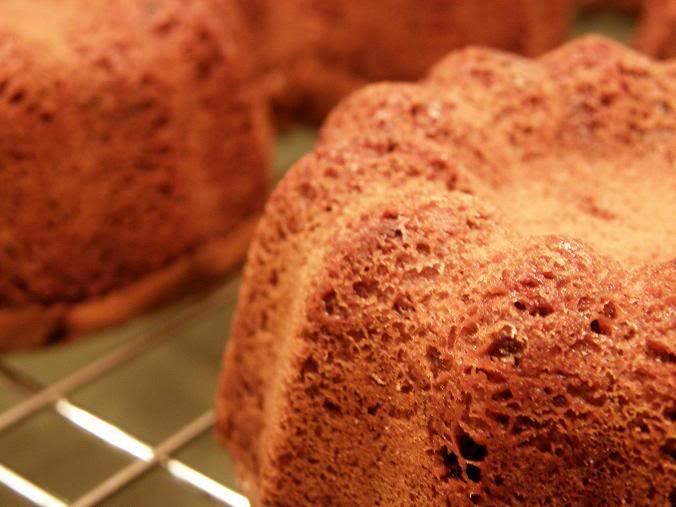
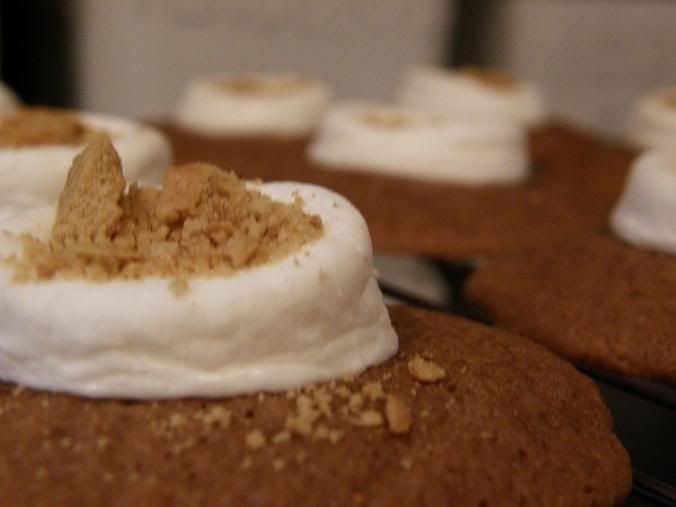
These cupcakes had a great texture: dense and moist. They were the perfect sweetness and I think the frosting complemented the cake nicely. I would definitely like to make this recipe again but perhaps in a loaf pan and with a glaze rather than frosting.


